
If you’ve ever wondered how to clean dropper bottles properly, you’re not alone. Whether it’s essential oils, tinctures, or homemade serums, keeping those tiny containers spotless is key to safe reuse and saving money. In this quick guide, you’ll discover simple, effective ways to strip away stubborn residue, eliminate odors, and sterilize your glass or plastic droppers without hassle. Ready to transform your empty bottles into fresh, reusable gems? Let’s dive right in!
Understanding Dropper Bottles: Types and Cleaning Challenges
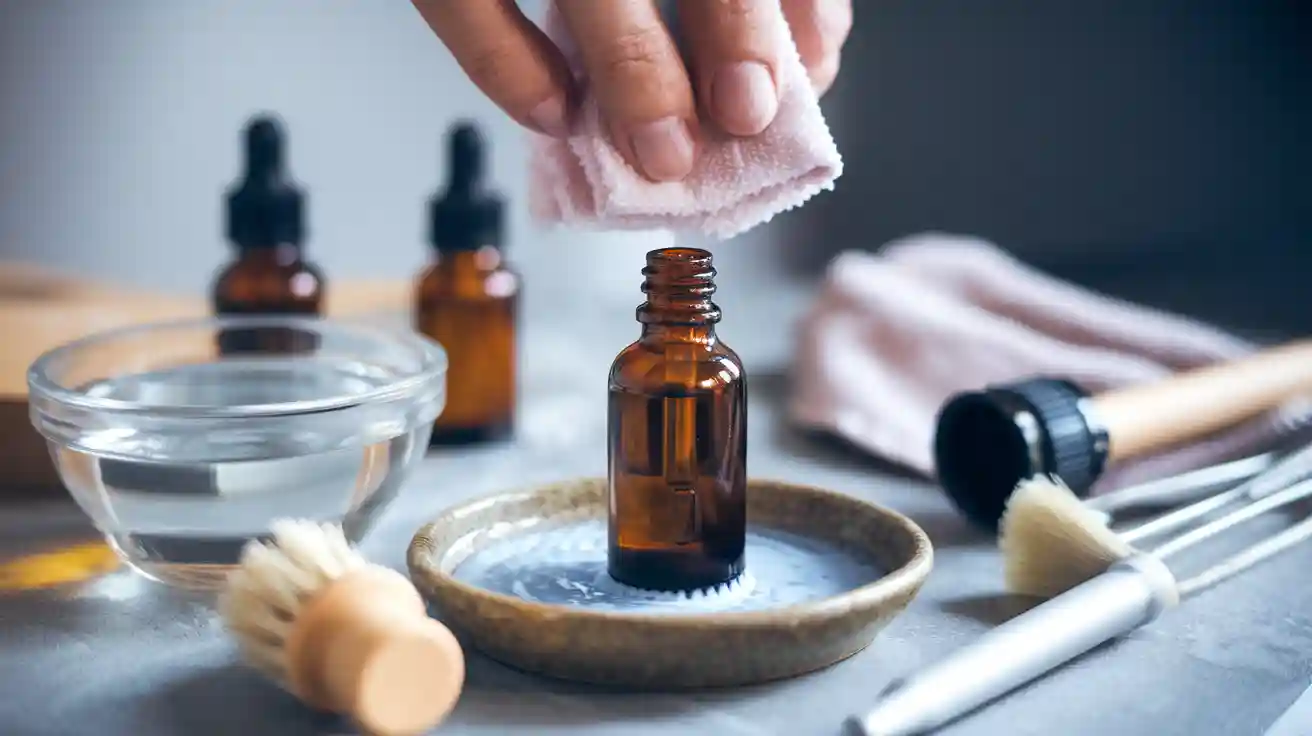
Dropper bottles come in many varieties, commonly made from glass or plastic, and often paired with rubber or silicone droppers. They’re popular for essential oils, tinctures, serums, and other concentrated liquids. Knowing the type you have is the first step toward effective cleaning.
Different materials pose unique challenges. Glass droppers, especially amber glass bottles, are great for light-sensitive contents but can trap stubborn residue in narrow necks. Plastic bottles might absorb odors or stains over time, making them tricky to refresh. Rubber droppers hold onto smells like essential oils and can degrade if harsh cleaners are used.
Cleaning dropper pipettes thoroughly means tackling hard-to-reach spots inside small openings and dealing with sticky or oily residues. Without the right methods, you risk leftover buildup or persistent odors—issues that can ruin your next batch or cause contamination.
Understanding these specific challenges helps you choose the best cleaning approach, keeping your bottles fresh, functional, and safe to reuse.
Essential Tools and Supplies for Effective Cleaning
To clean dropper bottles thoroughly, having the right tools and supplies makes all the difference. Here’s what you’ll need for effective cleaning:
- Warm Water: For rinsing and loosening residue inside bottles and droppers.
- Dish Soap: A gentle but strong cleaner to break down oils and sticky substances.
- White Vinegar: Great for vinegar soak to remove buildup and odors from glass dropper bottles.
- Baking Soda: Perfect for scrubbing off stubborn dropper residue while being safe on glass and plastic.
- Small Brushes or Pipe Cleaners: These help reach tight spots inside the dropper pipettes and bottle necks.
- Alcohol Wipes or Isopropyl Alcohol: Essential to sterilize dropper bottles and rubber droppers effectively.
- Tweezers or Toothpicks: Useful for disassembling dropper bottle parts gently or clearing blocked openings.
- Clean Towels or Air Dry Rack: To dry bottles completely after washing and prevent mold or odors.
Having these supplies ready lets you tackle cleaning essential oil bottles and tincture dropper bottles safely and thoroughly, whether you’re removing residue or preparing bottles for reuse.
Step-by-Step Guide: How to Clean Dropper Bottles Thoroughly
Cleaning dropper bottles right takes some care, but it’s pretty straightforward if you follow these steps:
-
Disassemble the Dropper Bottle Parts
Take apart the bottle, dropper pipette, and rubber bulb. Separating these parts makes cleaning each piece easier and more effective.
-
Rinse with Warm Water
Rinse all parts under warm running water to wash away leftover oils or residues. This works well for most essential oil bottles or serum bottles.
-
Soak in Vinegar or Baking Soda Solution
Fill a bowl with warm water and add a few tablespoons of white vinegar or baking soda. Soak the glass dropper bottles and droppers for 15-30 minutes to break down tougher residue and help with odor removal from rubber droppers.
-
Use Soft Brushes or Q-Tips
Grab a small bottle brush or cotton swabs to reach inside the narrow pipette and bottle neck. This helps remove hard-to-reach dropper cleaning residues.
-
Wash with Mild Soap
Add a drop of mild dish soap to warm water and wash all parts gently. Rinse well to ensure no soap gets trapped inside.
-
Dry Completely
Air-dry the parts on a clean towel or drying rack. Make sure everything is fully dry before reassembling to avoid mold or bacteria growth.
-
Optional Alcohol Wipe for Extra Sanitation
Wipe the dropper and bottle opening with isopropyl alcohol for an added layer of sterilization, especially if you plan to reuse tincture dropper bottles.
Following these clear steps will leave your dropper bottles clean, fresh, and ready for the next use.
Advanced Techniques: Removing Stubborn Residues and Odors
Sometimes, regular cleaning just doesn’t cut it, especially if your dropper bottles have leftover oil, tinctures, or other sticky residues. To get them truly clean—and remove any lingering odors—try these advanced tips:
- Vinegar soak: Fill the bottle and dropper parts with white vinegar and let them soak for a few hours. Vinegar is great at breaking down residue and neutralizing smells without harsh chemicals.
- Baking soda scrub: Make a paste with baking soda and a little water, then use a small brush to scrub the dropper’s inside and bottle parts. Baking soda is a natural abrasive that lifts stubborn grime and helps remove odors.
- Use alcohol wipes or soak: Rubbing alcohol not only cleans but also sterilizes. Wipe down all parts or soak them briefly to disinfect and get rid of any tough residues and smells.
- Disassemble parts: Take apart the rubber bulb, glass pipette, and screw caps before cleaning. This lets you reach hard-to-clean spots where residue and odors hide.
- Pipe cleaners or small brushes: Use thin brushes or pipe cleaners designed for dropper bottles to reach tight spaces inside the pipette.
If odors stick to rubber droppers, swapping out the rubber bulb might be the easiest fix since rubber absorbs scents. Keeping your dropper bottles clean this way ensures they’re fresh and safe every time you reuse them.
Sterilization Methods: Ensuring Hygiene for Safe Reuse
After cleaning your dropper bottles, sterilizing them is a must to keep things safe, especially if you’re using them for skincare, tinctures, or essential oils. Here are easy ways to sterilize glass dropper bottles and their parts to remove any harmful bacteria or germs:
- Boiling Water Method:
- Disassemble the dropper (glass pipette, rubber bulb, bottle).
- Place all glass parts in boiling water for about 10 minutes.
- Avoid boiling rubber parts for too long, as heat can damage them—just a quick dip or soak in hot water works.
- Alcohol Wipe Sterilization:
- Wipe down bottle exteriors and dropper parts with 70% isopropyl alcohol.
- You can also flush the inside of the bottle and pipette with alcohol, then let air dry completely. This is great for quick DIY dropper bottle sanitation.
- Vinegar Soak:
- Soak the glass bottle and pipette in white vinegar for 15-20 minutes to kill bacteria and help with odor removal from rubber droppers.
- Rinse thoroughly after soaking to avoid vinegar residue.
- UV Light Sanitizers:
- UV sanitizers offer a chemical-free sterilization option if you want to keep things eco-friendly. Perfect for maintaining amber glass bottle maintenance without wear and tear.
Remember, fully drying your dropper bottle parts after sterilization is key to prevent moisture buildup, which can lead to mold or bacteria growth. Using these sterilization techniques will keep your bottles safe and hygienic for reuse—whether for your home apothecary, essential oils, or homemade serums.
Reuse Ideas: Creative Ways to Repurpose Clean Dropper Bottles
Once your dropper bottles are clean and sterilized, don’t toss them out! These bottles are super handy around the house and easy to reuse in eco-friendly, zero-waste ways. Here are some creative ideas for repurposing clean dropper bottles:
- DIY Essential Oil Blends: Use your clean glass dropper bottles to mix and store custom essential oil blends for aromatherapy or natural cleaning sprays. Amber glass bottles help protect oils from sunlight, keeping them fresh longer.
- Homemade Serums and Skincare: Store your DIY facial serums, vitamin C, or other skincare treatments in dropper bottles. They make precise application simple and keep your products hygienic.
- Tincture Storage: Reuse tincture dropper bottles for herbal extracts or liquid supplements—perfect for a homemade home apothecary setup.
- Custom Room Sprays: Fill with diluted fragrances or vinegar-based solutions for an easy, natural air freshener. The dropper helps with small, targeted doses.
- Cooking Extracts: Store vanilla, almond extract, or infused oils. The dropper allows you to add small flavor boosts while cooking or baking.
- Travel-Sized Liquids: Need to take a small amount of shampoo, lotion, or sanitizer on the go? These bottles work great for travel.
- Art and Craft Uses: Use dropper bottles to apply inks, dyes, or liquid watercolor paints with precision.
Keeping these bottles in use not only saves money but also reduces plastic waste. Just make sure you’ve removed any strong odors or residues—like vinegar soak or baking soda clean dropper residue methods—before repurposing to avoid unwanted smells or flavors.
Reuse your dropper bottles thoughtfully, and you’ll have handy little containers ready for many practical uses around your home.
Maintenance and Storage Tips for Longevity
Keeping your dropper bottles in good shape means they’ll last longer and stay safe for reuse. Here’s how to maintain and store them properly:
- Clean after each use: Quickly rinse out any leftover liquid to prevent residue buildup, especially for essential oil or serum bottles.
- Disassemble for thorough cleaning: Take apart the dropper parts—rubber bulb, glass pipette, and bottle—before cleaning to reach all areas.
- Dry completely: Let all parts air dry fully before reassembling. Moisture can cause mold or degrade rubber droppers over time.
- Store in a cool, dark place: Keep amber glass bottles out of sunlight to prevent breakdown of sensitive oils or liquids.
- Avoid extreme temperatures: Don’t store bottles where they could freeze or overheat; this can crack glass or damage seals.
- Use airtight caps: Tighten droppers securely to prevent contamination or evaporation.
- Check rubber droppers regularly: Replace if you notice hardening or odors that won’t go away after cleaning, since worn droppers affect hygiene.
- Label your bottles: Clear labeling helps avoid cross-contamination and keeps track of contents and cleaning dates.
By following these simple tips, your glass dropper bottles will stay clean, odor-free, and ready to use for your home apothecary or DIY projects.
Frequently Asked Questions (FAQs)
Q: Can I reuse dropper bottles safely?
Yes, if you clean and sterilize them properly, dropper bottles can be safely reused for essential oils, tinctures, or DIY serums.
Q: What’s the best way to remove residue from dropper pipettes?
A vinegar soak or baking soda solution works great for breaking down stubborn residue inside dropper pipettes.
Q: How do I get rid of odors from rubber droppers?
Soaking the rubber parts in a diluted vinegar solution or using an alcohol wipe helps eliminate odors effectively.
Q: Can I use dish soap to clean glass dropper bottles?
Dish soap works well for daily cleaning, but sterilizing with alcohol or boiling water is recommended for deeper sanitation.
Q: How do I clean hard-to-reach spots inside dropper bottles?
Use small brushes designed for droppers or fill and shake the bottle with a cleaning solution like baking soda and water.
Q: Is it okay to boil dropper bottles for sterilization?
Only boil glass dropper bottles and remove rubber or plastic parts before boiling to avoid damage.
Q: What supplies are essential for cleaning dropper bottles?
Basic supplies include warm water, dish soap, white vinegar, baking soda, small brushes, and rubbing alcohol for sterilizing.
Q: How can I store cleaned dropper bottles for long-term use?
Keep dropper bottles in a cool, dry place away from direct sunlight to maintain their quality and prevent contamination.